Our friendly robot robocup and how you can make him
A few weeks ago now our Bostik blogger box came through the door . I checked to see what the theme this month was and saw it was Robots . Now this is something Ava has no knowledge of . I don’t know why but we  have never really talked or seen robots . So before deciding on what we were going to make . I looked into robots to show her what they were . We watched some YouTube videos, looked at books and also watched Justin’s house . Now if you have a small child you will know about justin’s house and his friendly robot Robert.
Now she had a good understanding of what Robots were we looked in our box to see if we could create one. Ava was instantly drawn to the cups . So this is how our robocup craft started.
You will need
- A cup
- Googly eyes
- Bits to stick on to make the control panel
- Pipe cleaner
- Black pen
- Glue
- Micro dots
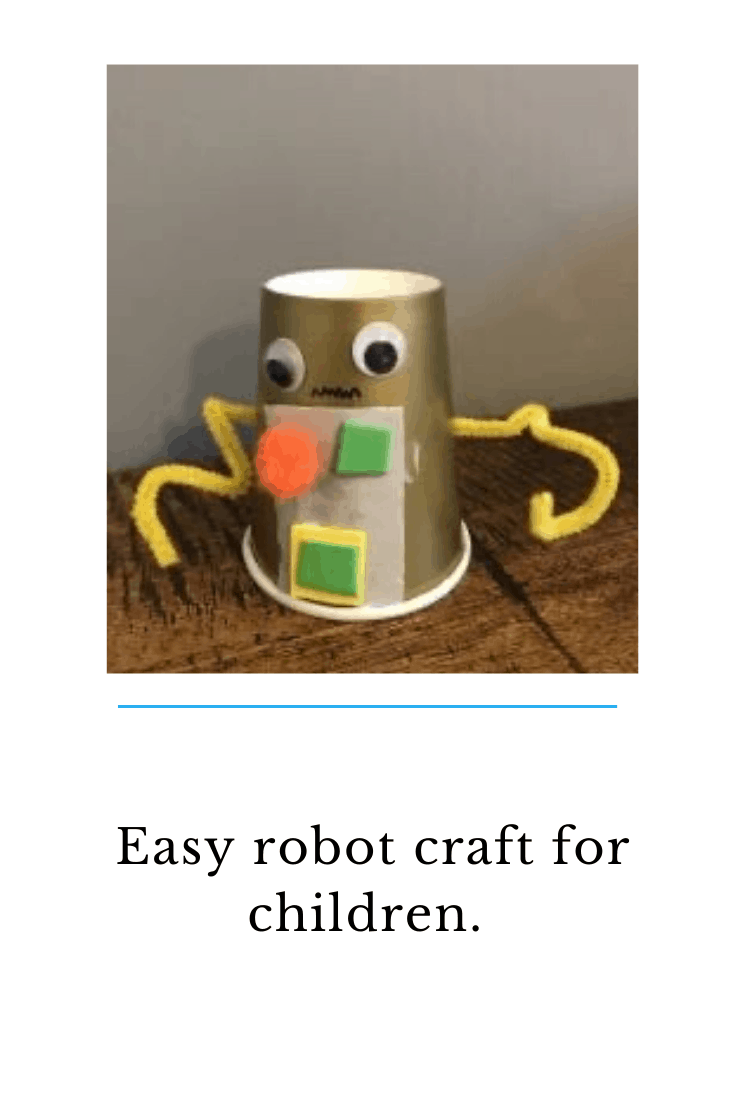
How to make your robocup
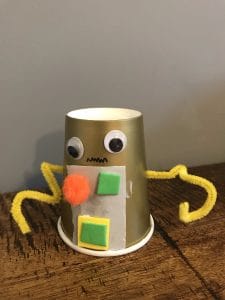
We started by cutting a rectangle out of some coloured paper. This will be the main part of the control panel. Once cut you will need to stick it to your cup . We did this using some PVA glue.
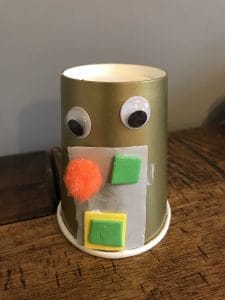
Once the control panel is stuck to your cup you will need to stick bits on it to look like buttons and dials. Ava stuck on some small Pom Pom balls and some foam shapes to make her buttons and dials.
Once this is dry you will then need to add some eyes to your cup. We did this by using some Micro dots from Bostik . We placed the googly eyes onto the dots and then stuck them to the cup. These little dots are the best thing we have found to keep the eyes on . Plus you don’t need to leave them to dry so you can move onto the next step quickly.
Using a permanent market pen we drew a mouth onto our robocup.
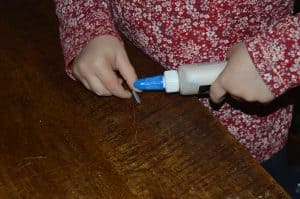
Lastly you will need to make a small hole either side of the cup so you can thread the pipe cleaner through . I did this by placing some blue tac on the Inside and applyed some pressure with a pen on the outside . This made the perfect sized whole. You will then need to repeat this on the other side.
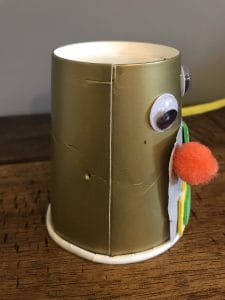
We then threaded a pipe cleaner through the holes to make some arms for our robot. Once this is done your Robocup is ready for your little ones to enjoy playing with.
I hope you have enjoyed this craft. If you’re looking for some more crafts to do then don’t forget to check out our crafts page.
 *We were sent a box of craft materials from craft merrily as part of being a Tots 100 Bostik blogger*