So Bomb DIY vanity case – review And giveaway
We were sent the So Bomb DIY vanity case for free in return for an honest review. All opinons are my own.
You may have seen that recently we reviewed the So Slime colour changing slime. We are back with you today with another product from this family which is the So Bomb DIY vanity case.
What’s in the So Bomb DIY vanity case
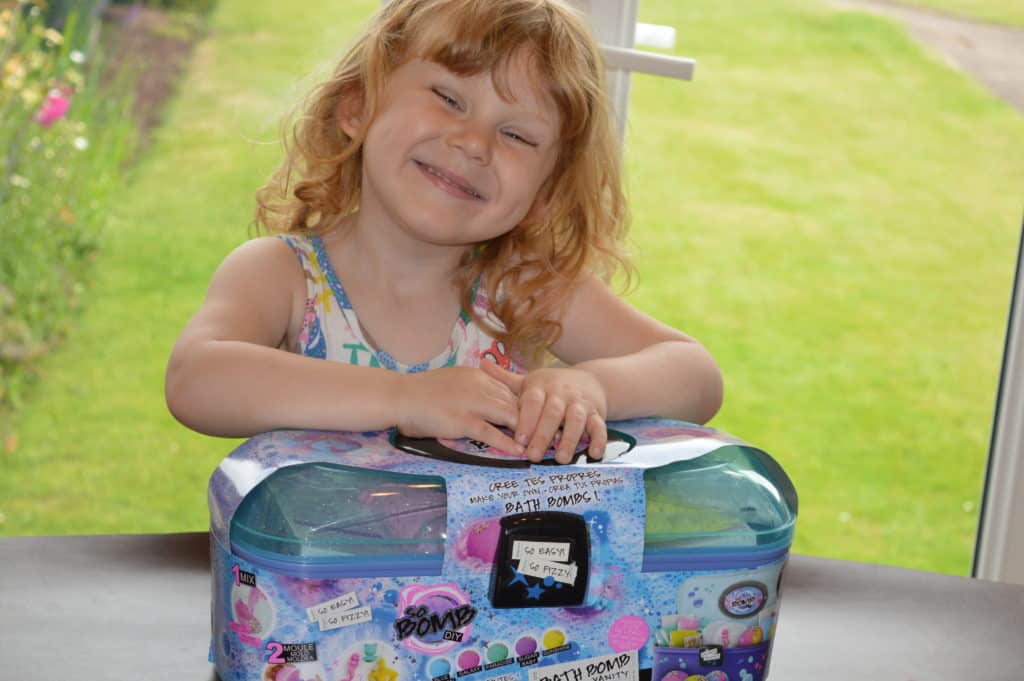
In the case you will get
- 5 different fragerence colours
- 5 packs of bicarbonate of soda
- 3 plastic moulds
- 1 pack of sprinkles
- 3 adorable figurines to hide in your bath bomb
- 1 pipette
- A set of stickers to decorate your case
What to do
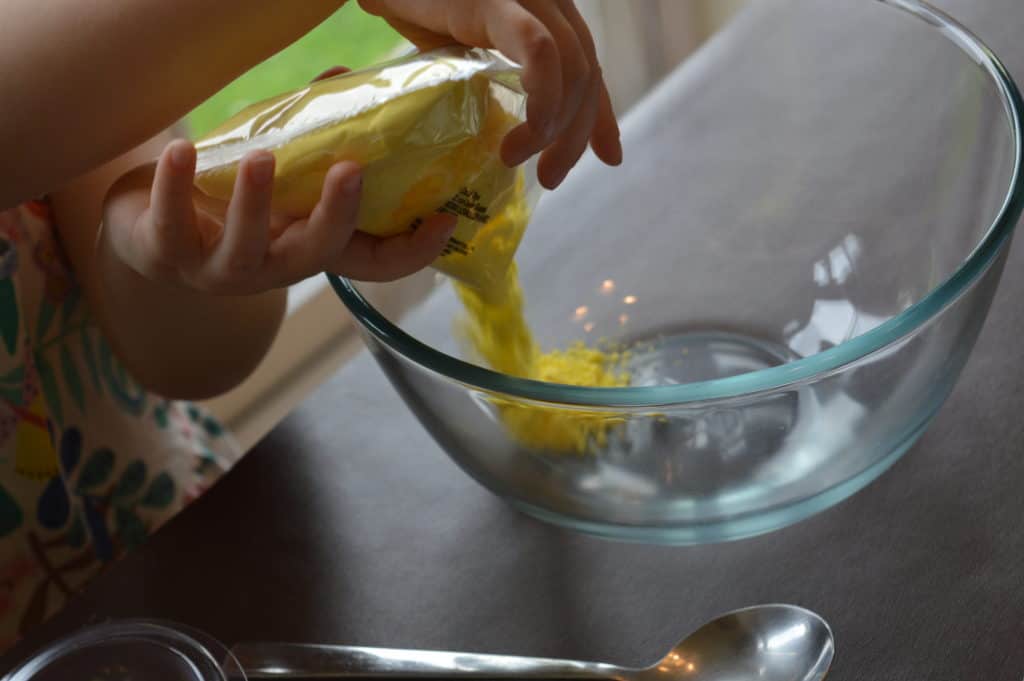
You need to start by taking to coloured frangerence packets and pour them into a bowl. We did a bowl per colour so Ava could layer the different colours. Then using the pipette add some water to the coloured powder and mix it all in.
You then need to take the packet of soda making sure it has not lump in and pour it on top of the colour powder. Then mix them both togther so no white soda can be seen.

You will then need to repeat this step for all the colours that you are wanting to use.
Then it’s time to load it into the the moulds. There are two side to the moulds so starting with A side we put some sprinkles in the layered the colours ontop. Then in the B mould fill it half way and then put in one of the three adorable figures. Then contiue to fill it to the top of the mould.
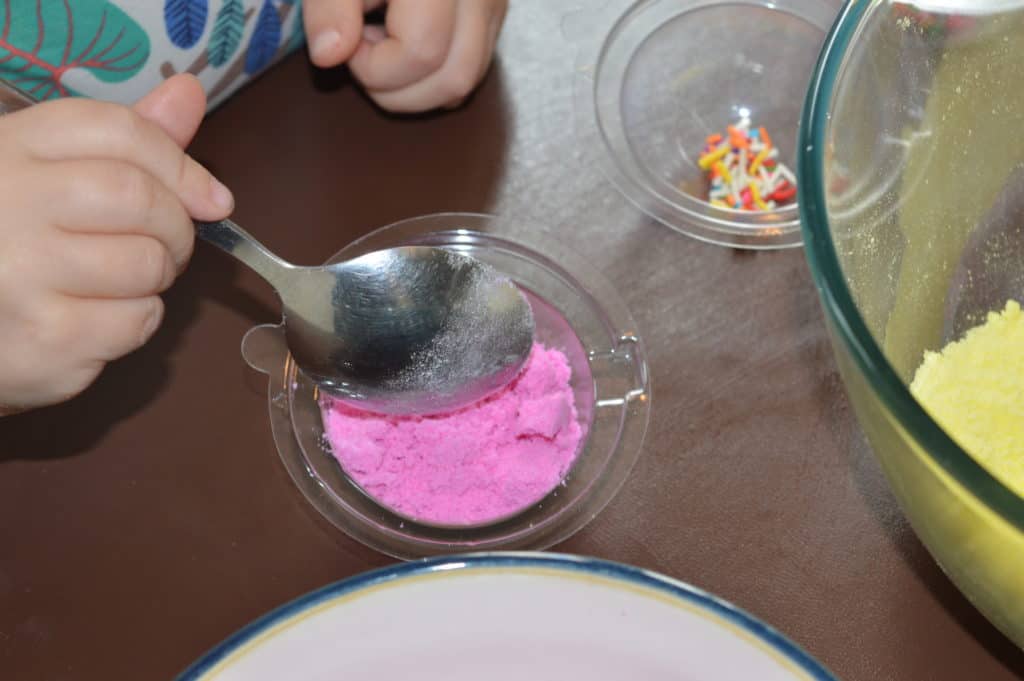
Now comes the tricky bit
Now you need to put the A and B moulds together. Our first attempt was a bit of a flop. There was powder in the section where the two moulds connected with each other. Meaning they wouldn’t fit together. So we had to re do that one. But once I knew what needed to be done it did become easier and we made 3 bathbombs.
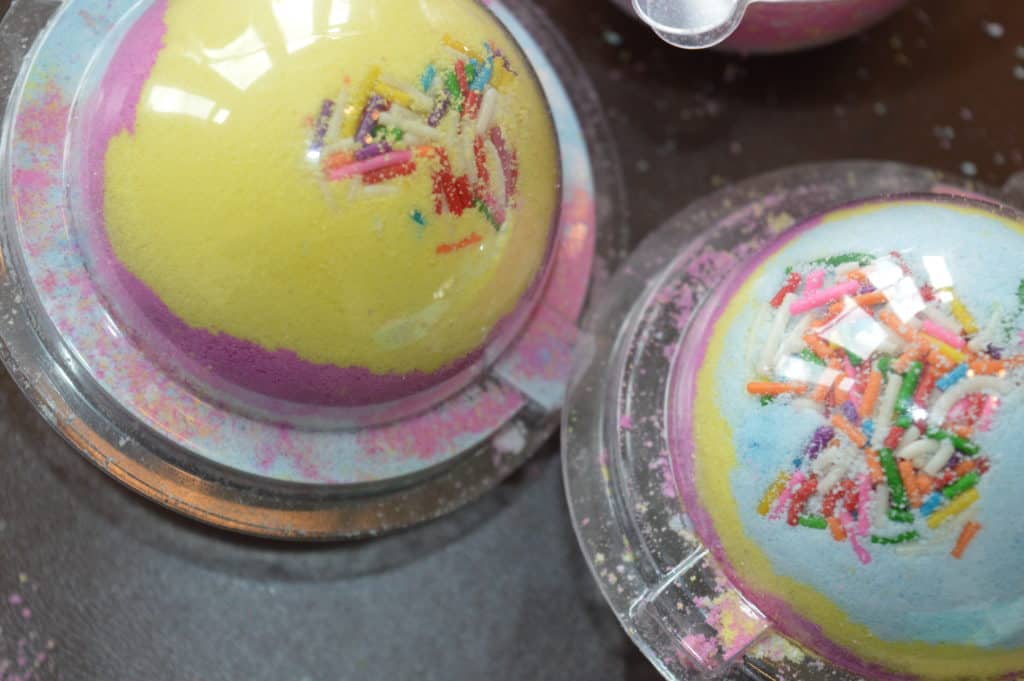
Time to leave them
Now you need to leabe them so they can harden in the moulds. We left ours for most of the day and only took them out when we was going to use one in the bath.
To my surprise they all actually worked. They stayed in shape and I was actually pretty impressed with how they looked.
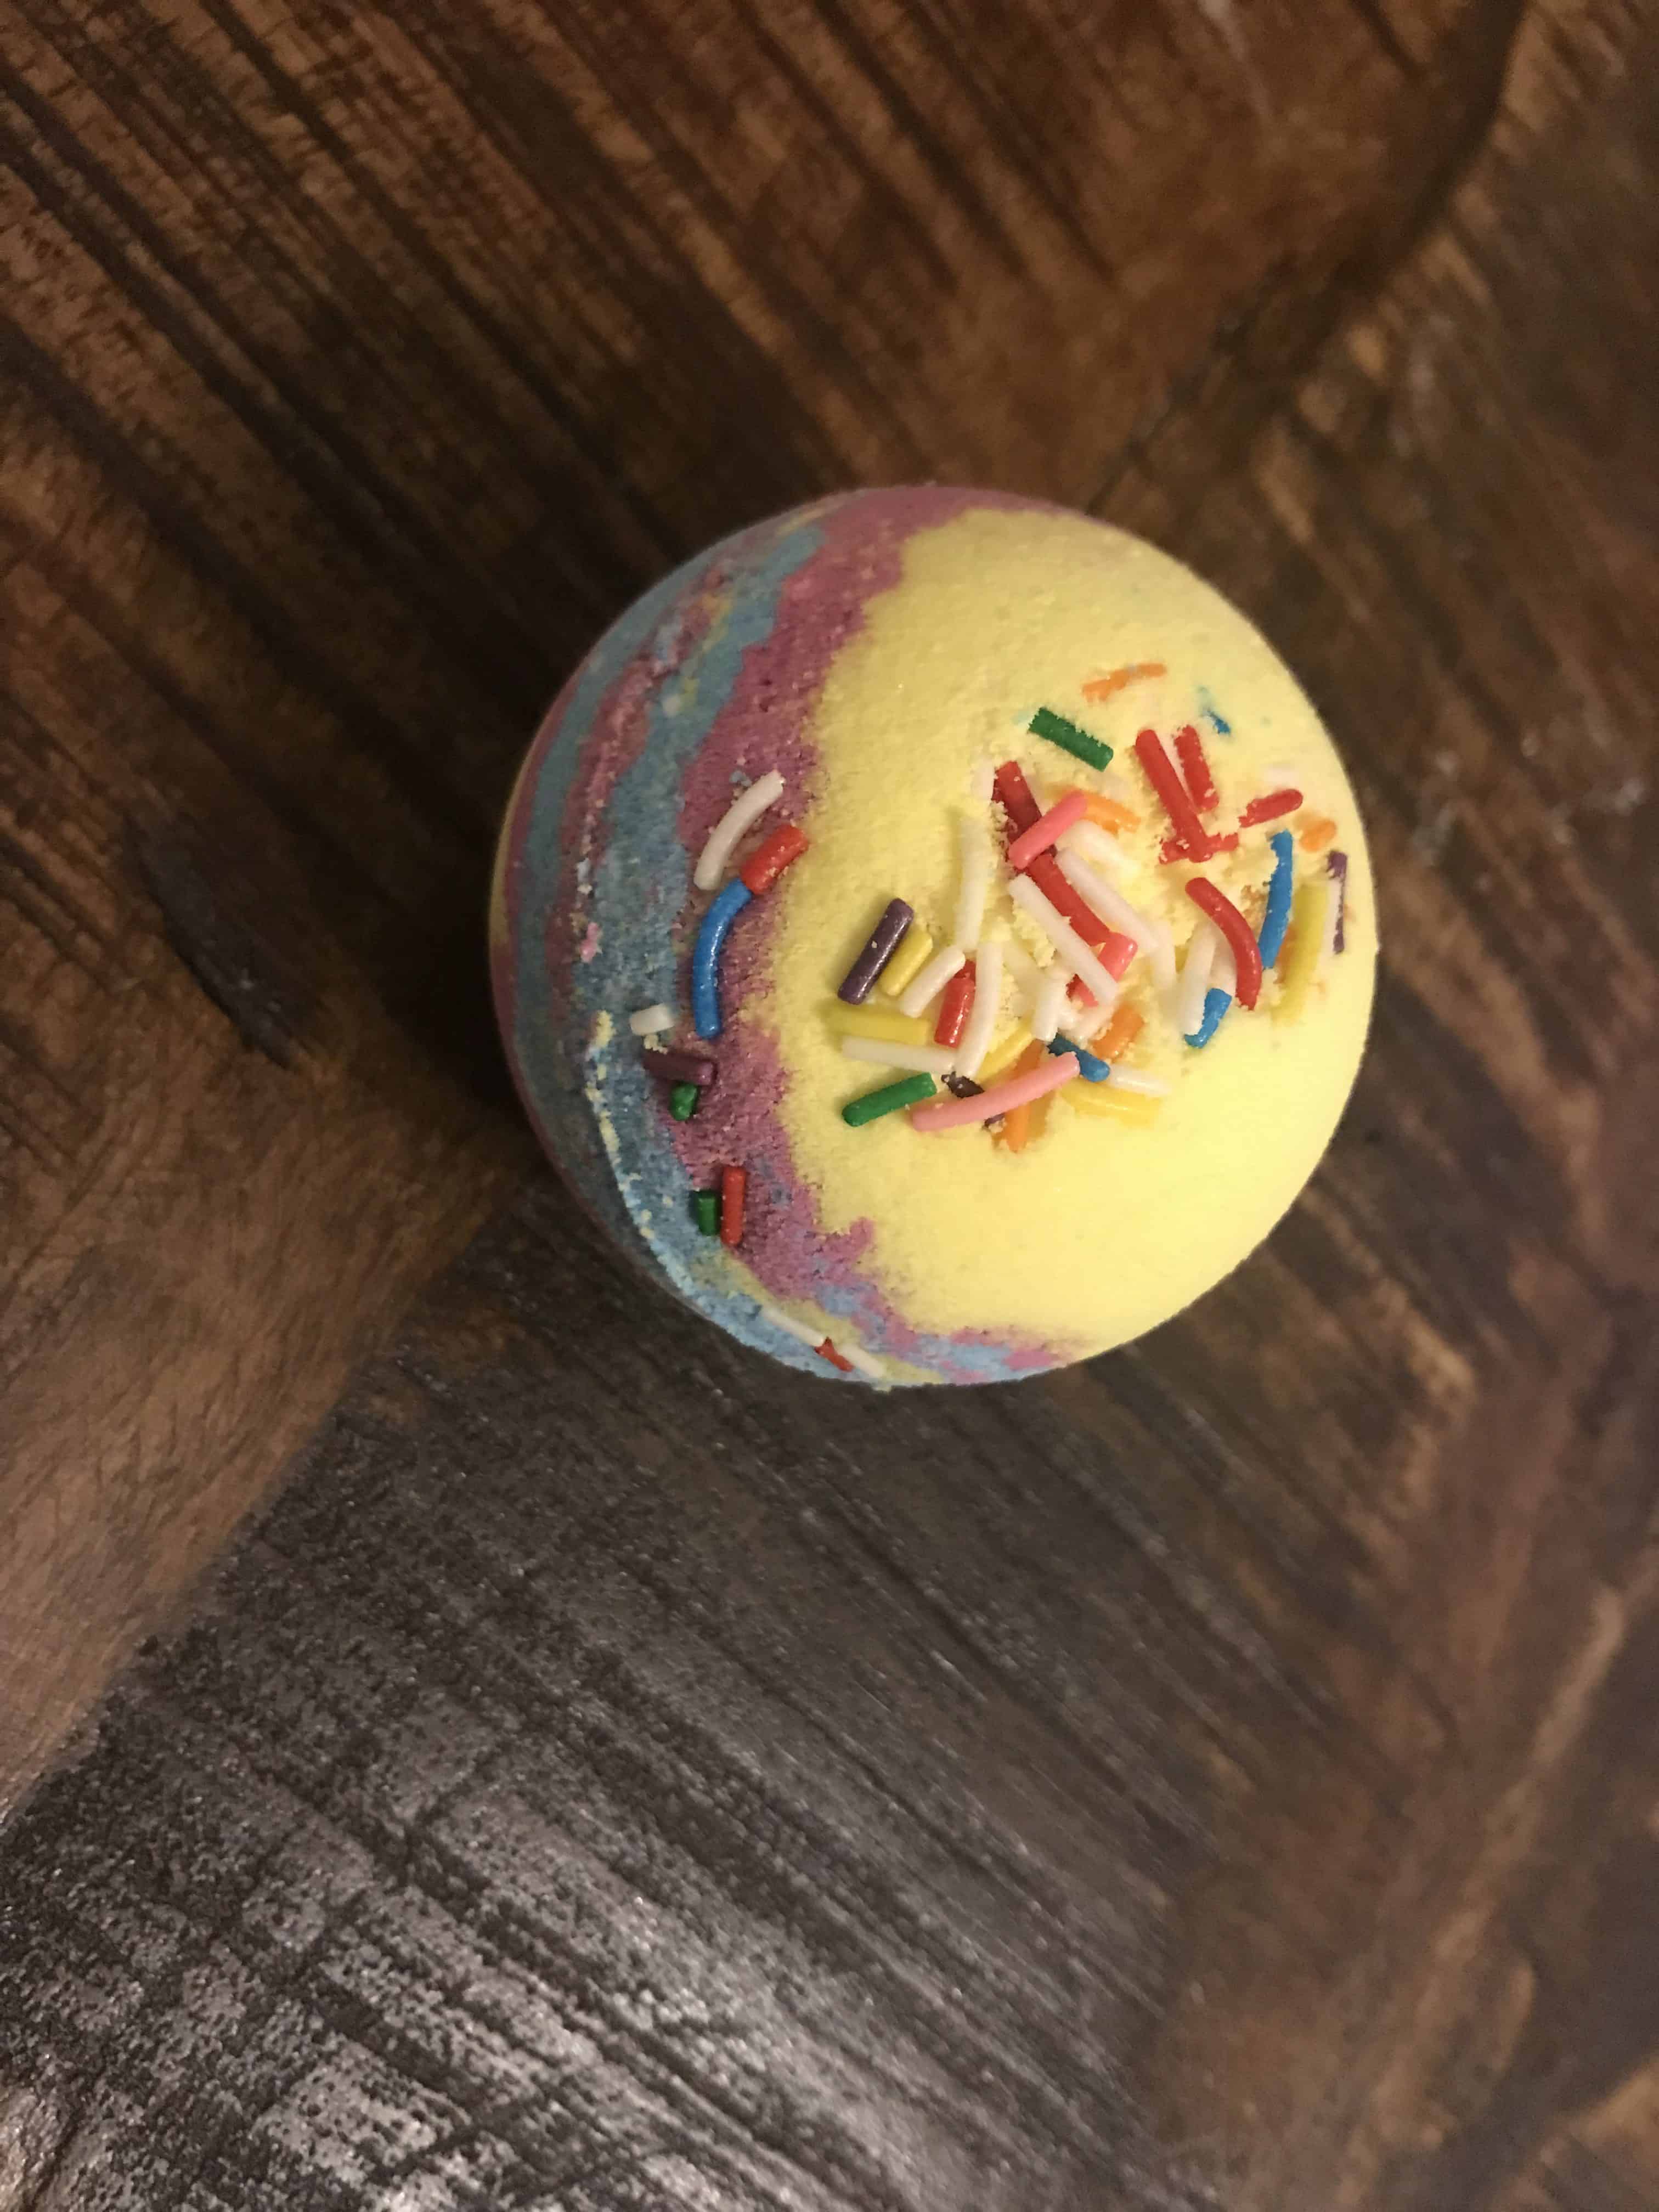
Now to try the bath bombs out
As Ava’s skin can be a little sensive we didnt use them in the bath straight away instead we let her play with one in the sink. To see if they would cause her skin to flare up. As of yet her her skin hasnt shown any signs of a reaction. However my hands did feel a littl sore afterwards. So I would just say be careful maybe test it out like we did before using them in the bath with your children.

Our overall thoughts
Overall I think this is a really nice set. I enjoyed spending the time with Ava making the bath bombs and she really enojyed doing it. Even though actually getting the moulds together was a little tricky. They actually turned out really well. I would go as far and say they look like ones I have seen in the shops.
I love the fact it comes in a vanity case as it gives you something to store all the bits in when they are not being used.

73 Comments
Katie Skeoch
A rose petal bath bomb is my favourite
Solange
I love vanilla.
Margaret GALLAGHER
Love citrus especially orange
Emma Walters
coconut would be lovley x
Margaret GALLAGHER
Mandarin uplifting and inspiring
Kim Styles
I love jasmine – it fills not only the bathroom but the whole house with a heavenly fragrance
Kim Styles
I like Rose- it reminds me of my mums garden
Kim Styles
I also like patchouli but it is a very strong scent
Kim Styles
One of my favourites is Lavender
Kim Styles
I like a fruity scent sometime and a strawberry scent can be lovely
Kim Styles
sometimes Vanilla is a favourite scent of mine it has that ‘clean’ aroma!
Kim Styles
I love the scent of raspberry
Nageena Ahmed
My favourite fragrance for a bath bomb is mango.
Rebecca Smith
Ooo has to be coconut
Helen Best
I love coconut its good for the skin to
Natalie Burgess
I love lavender xx
Susan Smith
Rose petals
Pam Francis Gregory
Coconut is my favourite
Nyasha Mtutu
Creamy coconut…mmmmm so luxurious
Tracy Hanley
I would say lemon
Kim Styles
A Lemon Bath bomb gives a lovely clean citrusy scent to the bathroom
Karen Watt
Love coconut
Nicola Marshall
I love a lemon bath bomb.
Ursula Hunt
I love a flowery scent like sweet pea
Kim Styles
a lovely pine scent is a wonderful fresh scent for a bath bomb and is one of my favourites
james jordan
Love citrus especially orange
Margaret Clarkson
Most floral fragrances, especially rose.
Geri Gregg
Vanilla or lavender, I adore those scents
Susan Smith
I like almost any of the fragrances but Lavender has to be my favourite
Linda Turner
I love the rose. Smell is amazing
Amanda Baggott
Rose petals 🙂
Kim Styles
I love a zesty manderin scent
Laura Wheatley
I love fruity scents and sweet scents <3
Selena Longworth
I love lemon as its so fresh and funky! My daughter turns 5 this month and would love this!
Jayne Townson
Lemongrass would be lovely.
Kim Styles
I think Cherry is a lovely scent
Laura Wheatley
strawberry is always nice
Kim Styles
one of my favourite scents is coconut it adds a tropical edge to soaking in warm water – you can close your eyes and imagine you are floating in a lagoon on a tropical island!
Kim Neville
I like vanilla
Tracy Hanley
Love a lemon smell
Rachel Butterworth
Lavender, it’s such a relaxing scent.
Kim Neville
I like vanilla or strawberry
Kim Styles
A nice peppermint is a great cleansing scent for a bath bomb
Laura Wheatley
tea tree makes a lovely bath bomb
JULIE WARD
Yorkshire lass from Yorkshire soap
Tracy Newton
Lavender for relaxation
Laura Wheatley
citrus scents are also lovely, really refreshing
Tracy Newton
I love uplifting citrus scents
Kim Neville
I like strawberry and vanilla
Laura Wheatley
tuti fruti would be nice. I love colourful bath water its relaxing
Samantha O'D
Lavender very relaxing
Rebecca Roberts
Lavender would be amazing what fun me and my daughter would have with this
Troy Easton
It would be the Lemon.
Elizabeth Yeates
Lemon
Rebecca Whatmore
I love them all! Chocolate or citrus scents are nice!
Hayley Ford
Lavendar! Nice and relaxing!
paula cheadle
Coconut is my fave
Susan Smith
Lavender
sarah morris
Lavender
Rachel Craig
Rose.
Julie McDonald
Love lavender
carol boffey
a flowery scent
Sandra Fortune
Rose scent lovely prize thanks for the chance
melody cross
I love fruity scents
Laura Wheatley
tropical scents
Lucie Aiston
Citrus scents are my ultimate faves but we love Bath bombs in this house
Anna Brown
Mango scented is my favourite bath bomb
Samantha O'D
Orange
Sean Eccles
Strawberry
Michelle Corbett
Dewberry for us! It’s such a gorgeous scent. We love our bath bombs they are great fun!
I’ve tweeted and followed but links won’t complete x
Rebecca Phillips
i love mango!
Lucy Carter
I love anything with Rose.
Adrian Bold
Lavender